How to write a tie (music notation)
September 16, 2020 by Taras (Terry) Babyuk
Introduction
This article assumes that you are already familiar with what a tie is and its function in music. The focus here will be to highlight the rules surrounding the correct way to write ties in music notation. This might be useful to those of you trying to write your own music or perhaps to teachers who want to be able to explain ties correctly to their students. So let's dive in!
A tie is written from note-head to note-head
Unlike slurs, ties must be written from the note-head of one note to the note-head of another note, not quite touching the note-heads. Here is a basic example of a tie:
Does the tie go on top or on the bottom?
1. Tied Single Notes
For single notes, the basic rule is that the tie goes in the opposite direction of the note stem. So, if the stem is pointing down, the tie goes on top, and if the stem is pointing up, the tie goes on the bottom. For whole notes, just imagine where the stem would go if there was one, and write the tie on the opposite side. This rule goes back to the idea that ties should connect notes from note-head to note-head.
2. Tied Double Notes
For double notes that are tied, one tie is written on top and the other on the bottom, thus creating a little oval shape.
3. Tied Three-Note Chords
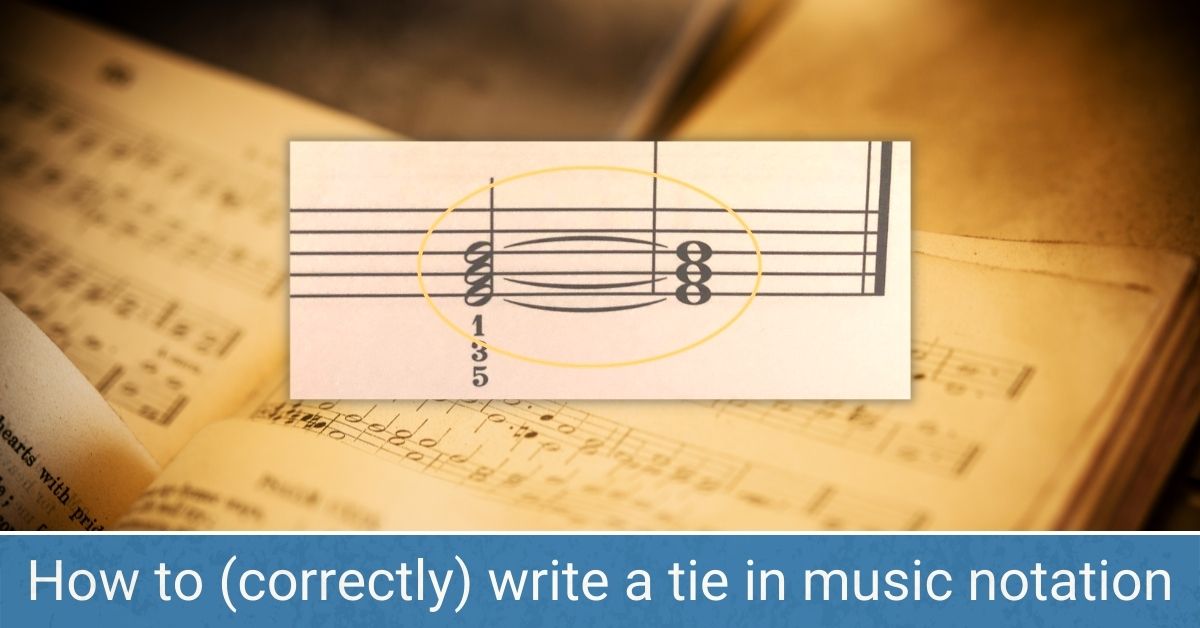
For three-note chords that are tied, we still apply rule #2 (see above) for the top and bottom notes, while the middle notes can have the tie going either up or down, usually depending on what looks better visually. Here is one typical example:
4. Multi-Note Chords
For chords with four or more notes, similar rules apply. The top-most notes will have the tie on top, the bottom-most notes will have it at the bottom, and the middle notes will have it on either top or bottom. Very often, notes that are closer together will have the tie going in the same direction, while those farther apart will use the opposite direction. Here are a few examples:
Writing ties across multiple measures
Sometimes a tie must be held across more than just two measures. If that's the case, we must connect notes from one measure to the next. Here is what this looks like:
Conclusion
The above examples all dealt with ties that extend from one measure to the next. Keep in mind that sometimes, ties can also be contained within the same measure. If that's the case, the same rules discussed here will apply.
I hope you found this article useful. Now go ahead and create some awesome ties!
Just fill out our quick trial lesson form and wait to hear from us within 1-2 business days. If you like your trial lesson, you can sign up for regular lessons with us! Our lessons are available online (Zoom or Skype) as well as in-person if you live close to our location. Start learning your favorite instrument with one of our amazing teachers today!
